
Services:
Hula Hoop Entertainment, Workshops & Interactive Experiences in Edmonton
Olivia Flows offers professional hula hoop entertainment, workshops, and movement-based experiences for kids, families, schools, and events of all sizes.
Each service is designed to be interactive, engaging, and memorable, combining performance, participation, and creativity.


CHOOSE YOUR EXPERIENCE (PACKAGES)
Welcome visitors to your site with a short, engaging introduction.
Double click to edit and add your own text.

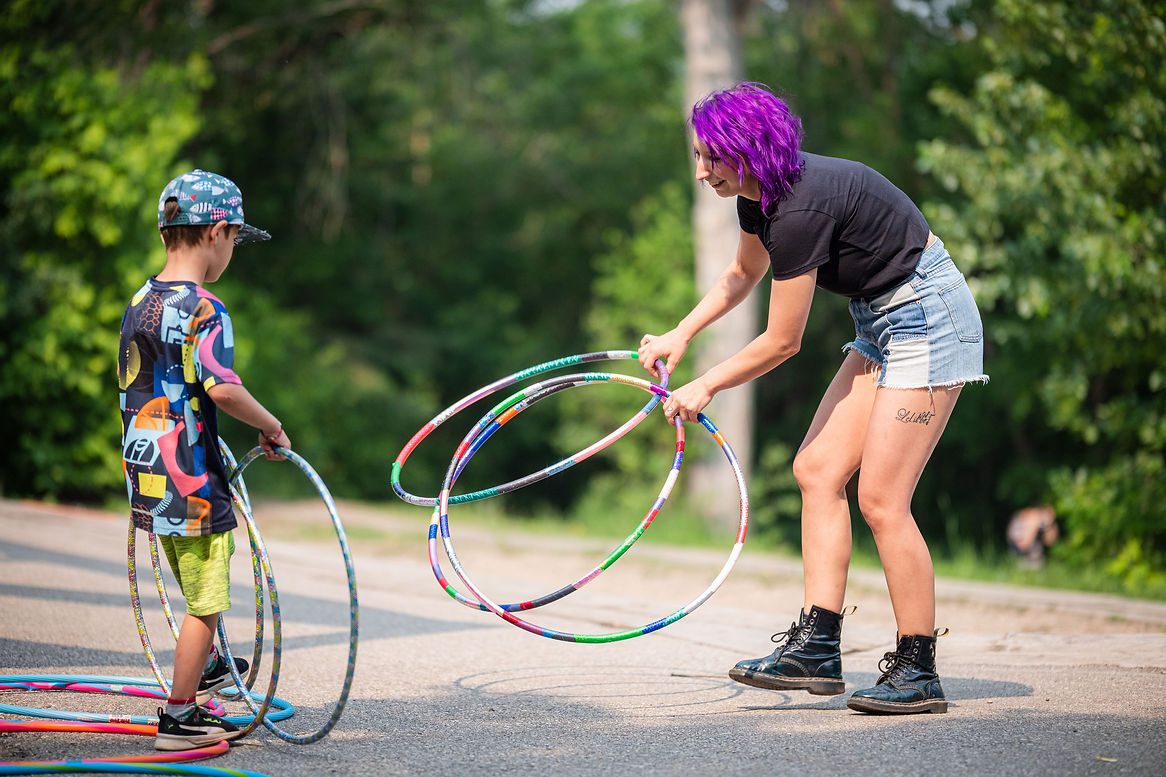
School & Daycare Programs: Interactive Hula Hoop Performances & Workshops
Olivia offers engaging hula hoop performances and workshops in Edmonton for schools and daycares, combining movement, creativity, and fun in an interactive format.
Perfect for:
-
School assemblies & special events
-
Daycares & early childhood programs
-
Activity days & celebrations
Options include:
-
Interactive hula hoop performances
-
Beginner-friendly workshops
-
Performance + workshop combinations
Programs focus on building confidence, coordination, and creativity while keeping children active and engaged.


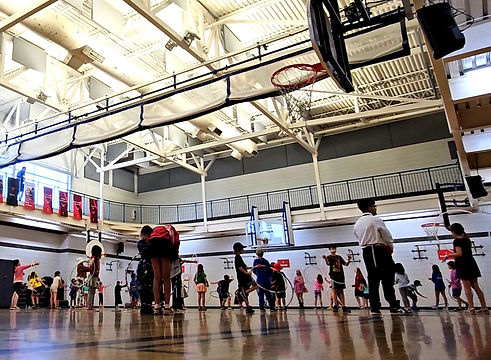
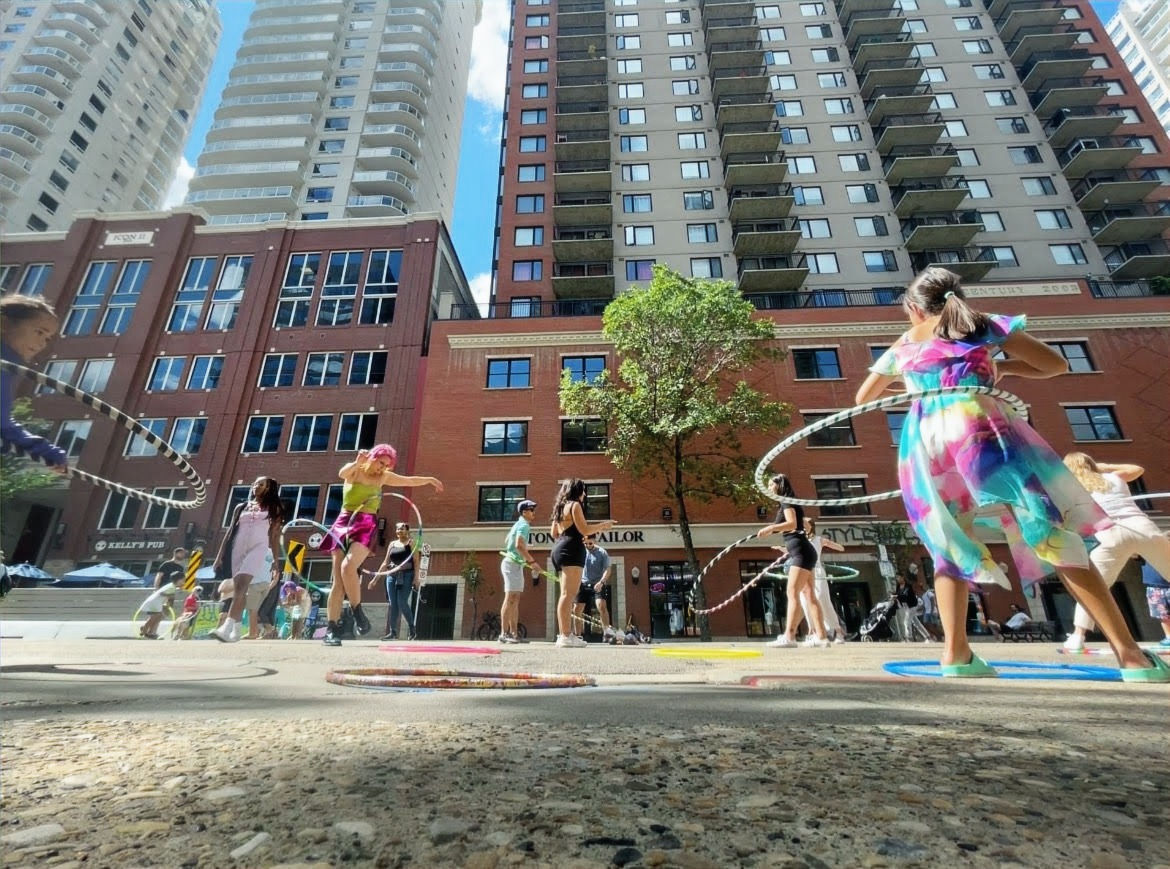
Family Fun Zones: Interactive Movement & Play Experiences for All Ages
Olivia offers Family Fun Zones designed to bring movement, creativity, and interactive play to events of all sizes. These zones create a welcoming space where guests can explore hula hoops, movement-based games, and guided activities in a fun and accessible environment.
Perfect for:
-
Community festivals
-
Corporate family days
-
School events & fairs
-
Public activations
-
Private celebrations & large gatherings
Family Fun Zones are designed to be drop-in, interactive, and engaging for kids, teens, and adults, making them an ideal addition to events looking for inclusive, hands-on entertainment.
Guests are encouraged to explore at their own pace, with light guidance, encouragement, and optional mini-challenges to keep energy and engagement high.
This experience adds a lively, participatory element to any event, helping create an atmosphere where people feel comfortable, active, and connected.
Birthday Party Entertainment: Interactive Hula Hoop Experience For All Ages
Make your child’s birthday party unforgettable with a high-energy, interactive hula hoop experience by Olivia Flows.
More than just a performance, this experience invites guests to join in, learn, and play, creating a fun and engaging atmosphere from start to finish.
What’s included:
-
Interactive hula hoop performance
-
Beginner-friendly group lesson
-
Guided games and participation
-
Optional theme customization
Designed for all ages and skill levels, this experience helps build confidence, laughter, and connection while keeping kids active and fully engaged.
All equipment is provided—no setup, no stress, just a seamless and memorable experience for you and your guests.
Perfect for birthday parties, celebrations, and kid-focused events.
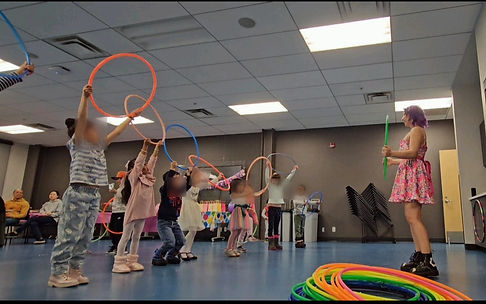
Kids Hula Hoop Classes: Fun, Confidence & Creative Movement
These classes are designed to keep kids active, engaged, and excited about movement through play-based learning and interactive activities.
Ideal for:
-
Schools & physical education programs
-
After-school programs
-
Birthday parties & private group bookings
-
Community centres & youth programs
Focus includes:
-
Coordination and motor skill development
-
Confidence building through movement
-
Creative expression and play
-
Fun, engaging group activities
A great way to introduce kids to movement in a way that feels like fun—not exercise.

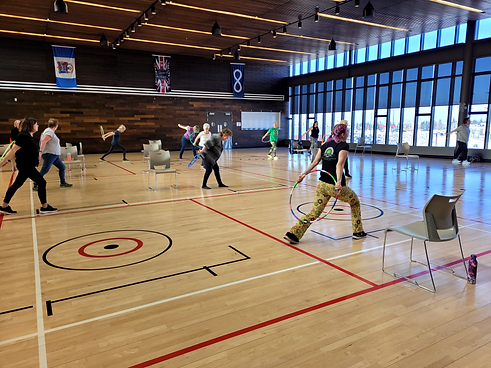
Adult Hula Hoop Classes:
Fitness, Flow & Fun (Ages 14+)
Looking for a fun, engaging way to move your body? Olivia Flows offers adult hula hoop classes in Edmonton designed for beginner to intermediate participants who want to build confidence, coordination, and flow in a supportive environment.
Each class explores both on-body and off-body hooping, helping you develop body awareness, focus, and fluid movement skills—while getting a full-body workout that feels more like fun than exercise.
With personalized guidance and adaptable instruction, you’ll discover a hooping style that feels natural to you, whether you're brand new or looking to expand your skills.
In each class, you can expect:
-
Beginner-friendly instruction with progressions
-
A mix of fitness, coordination, and creative movement
-
Music-driven sessions that keep energy high
-
A supportive, welcoming, and judgment-free environment
-
Opportunities to build confidence and flow at your own pace
No experience is required, and hula hoops can be provided—just bring yourself and be ready to move.


Senior's Hula Hoop Classes: Gentle Movement, Mobility & Connection
These classes are thoughtfully designed for older adults, focusing on low-impact movement, coordination, and social connection in a safe and supportive setting.
Ideal for:
-
Senior centres & wellness programs
-
Community and recreation programs
-
Active aging initiatives
-
Small group or private bookings
Focus includes:
-
Gentle mobility and coordination exercises
-
Balance and body awareness
-
Light, accessible movement
-
Social engagement and enjoyment
Sessions are adaptable to different mobility levels and designed to help participants feel comfortable, confident, and engaged.
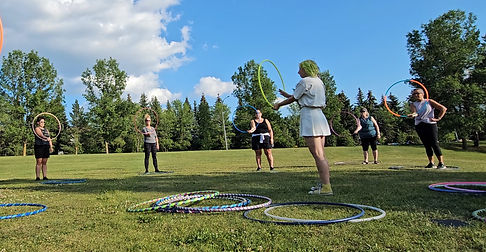
Hula Hoop Workshops:
Hula Hoop Learning Experiences for Kids or Adults
Olivia offers fun, accessible workshops designed for:
-
Kids
-
Teens
-
Adults
-
Beginners and recreational movers
Workshops focus on:
-
coordination and movement confidence
-
creativity and flow
-
fitness through fun engagement
-
learning foundational hoop skills
Perfect for schools, community events, wellness programs, team building and private groups.

Private Hula Hoop Lessons:
One-on-One Coaching for Kids & Adults
Olivia offers private hula hoop lessons in Edmonton for both kids and adults who want personalized instruction, focused skill development, or a fun and supportive way to learn at their own pace.
These sessions are tailored to each individual’s goals, whether that’s learning the basics, improving coordination, exploring tricks, or building confidence through movement.
Private lessons are designed to be:
-
Fully personalized to skill level and experience
-
Supportive, encouraging, and beginner-friendly
-
Flexible for kids, teens, and adults
-
Focused on both fun and progression
For children, lessons focus on creativity, coordination, and confidence through play-based learning. For adults, sessions can include fitness-based movement, foundational hoop skills, and flow development.
These sessions are ideal for anyone looking for:
-
A fun and unique physical activity
-
Confidence-building through movement
-
Skill development in a one-on-one environment
-
A personalized introduction to hula hooping
Crowd Roving/ Roaming:
Interactive Mobile Hula Hoop Performance Experience
Olivia offers roving (crowd roaming) hula hoop entertainment, bringing movement, music, and visual performance directly into the audience.
Unlike a stage-only performance, roving entertainment allows Olivia to move throughout your event space, engaging guests up close and creating spontaneous moments of interaction, surprise, and connection.
This format is ideal for creating atmosphere and maintaining energy throughout your event.
Perfect for:
-
Corporate events & galas
-
Festivals & outdoor events
-
Street fairs & public activations
-
Wedding cocktail hours & transitions
-
Brand activations & experiential marketing
Guests experience live, immersive performance moments up close, making the entertainment feel personal, dynamic, and highly engaging.
This service works especially well as:
-
pre-show entertainment
-
between main stage acts
-
guest arrival activation
-
roaming feature entertainment throughout an event


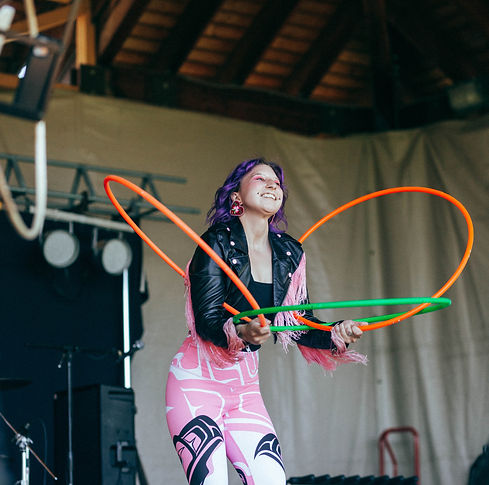
Luxury Hula Hoop Performances: LED & Stage Shows
Olivia’s signature performances combine technical skill, artistry, and stage presence to create a visually captivating experience.
Perfect for:
-
Weddings
-
Corporate galas & events
-
Festivals & live entertainment
-
Private parties & celebrations
Each performance is designed to enhance the atmosphere of your event with flow, rhythm, and high-impact visuals that guests remember long after the event ends.
Wedding Entertainment:
Interactive & Memorable Guest Experiences
Olivia offers unique wedding entertainment that goes beyond traditional performances, creating interactive moments that engage guests and elevate your celebration.
Services can include:
-
LED hula hoop performance during reception or evening entertainment
-
Interactive guest participation moments
-
Ambient roaming entertainment
-
Custom performance timing for your event flow
Designed to add a modern, artistic, and memorable touch to your wedding day.

Festivals and Live Events: Dynamic Stage & Crowd Engaging Performances
Olivia brings energetic, visually captivating performances designed for larger audiences and live event environments.
-
Stage-ready LED performances
-
Crowd interaction & engagement
-
Flexible performance lengths
-
Adaptable to event scheduling and flow